2. Components of earthkit-plots
In the previous section we learned how to plot data with the quickplot and quickmap modules, which use pre-built templates to make it possible to produce detailed visualisations in a single line of code.
However, we very often actually need to build a chart from the ground up. This section explores the core components of earthkit-plots visualisations, and how you can build your own plots from their constituent components.
Subplots and Maps
The two most common types of plots that you will generate with earthkit-plots are the Subplot and the Map. These are the individual axes on which each plot will be visualised.
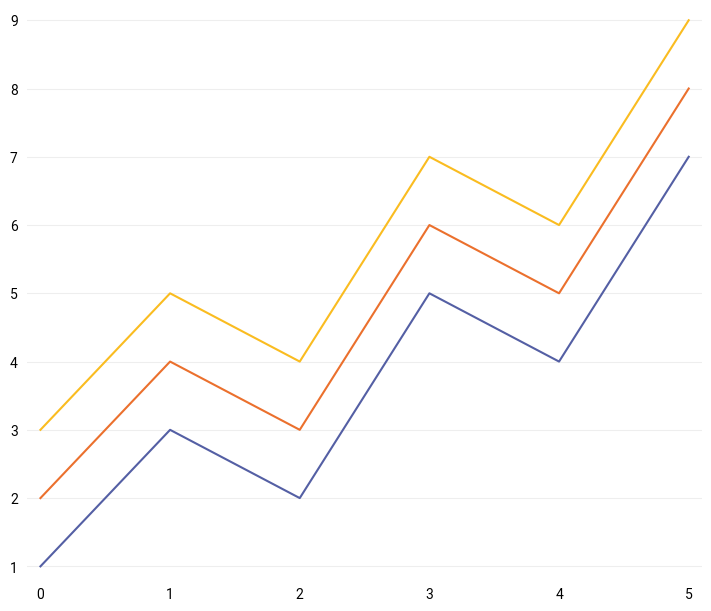
You may already be familiar with subplots from matplotlib. The concept is similar here, except that you do not need to define an overarching figure on which to put your subplots - if you’re only producing a sinlge set of axes, you can start directly from the Subplot class.
[1]:
import earthkit.plots

subplot = earthkit.plots.Subplot()
subplot.line([1, 3, 2, 5, 4, 7])
subplot.line([i+1 for i in [1, 3, 2, 5, 4, 7]])
subplot.line([i+2 for i in [1, 3, 2, 5, 4, 7]])

subplot.show()
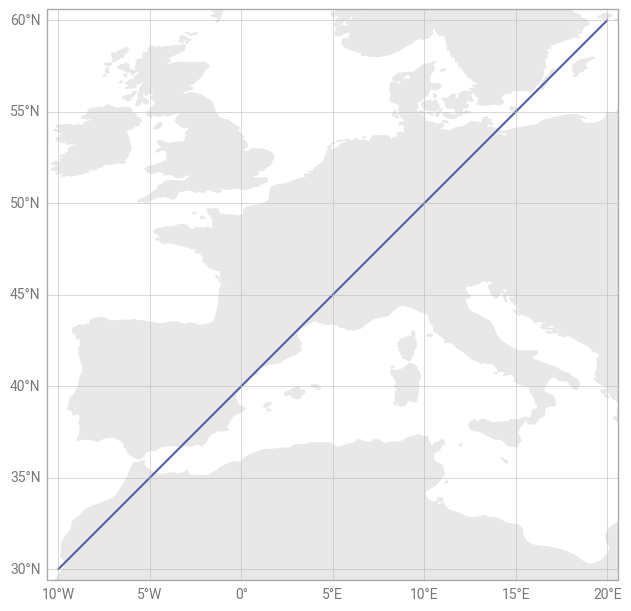
A Subplot is designed for plotting data on cartesian coordinates, whereas the Map is a special type of subplot specifically designed for plotting data using geospatial coordinates (e.g. latitude and longitude).
[2]:
subplot = earthkit.plots.Map()
subplot.line(
    x=[-10, -5, 0, 5, 10, 15, 20],
    y=[30, 35, 40, 45, 50, 55, 60],
)

subplot.land()
subplot.gridlines()

subplot.show()
Figures
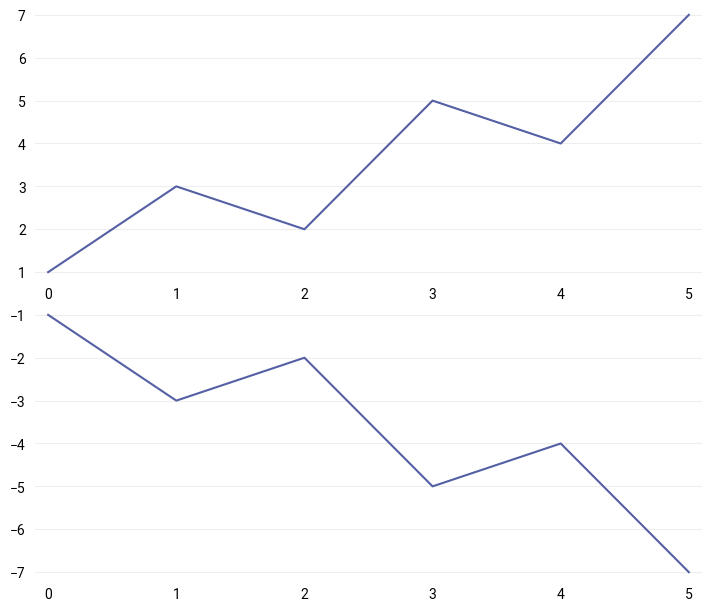
A Figure in earthkit-plots represents the overall “canvas” onto which everything is plotted. When instantiating a figure, you can pass the number of rows and columns of subplots that you would like to make available for plotting.
Much like in matplotlib, adding subplots to a figure is achieved with the add_subplot() method. You can pass this the specific row and column where you would like to place the subplot - but if you omit this information, earthkit-plots will place the subplot in the “next” available row/column position (moving left-to-right, top-to-bottom).
[3]:
figure = earthkit.plots.Figure(rows=2, columns=1)

top_plot = figure.add_subplot()
top_plot.line([1, 3, 2, 5, 4, 7])

bottom_plot = figure.add_subplot()
bottom_plot.line([-1, -3, -2, -5, -4, -7])

figure.show()
You can also add maps to a figure with the similar add_map() method. This can take additional arguments, such as the domain and coordinate reference system to use for the map (which will be explored later in this user guide).
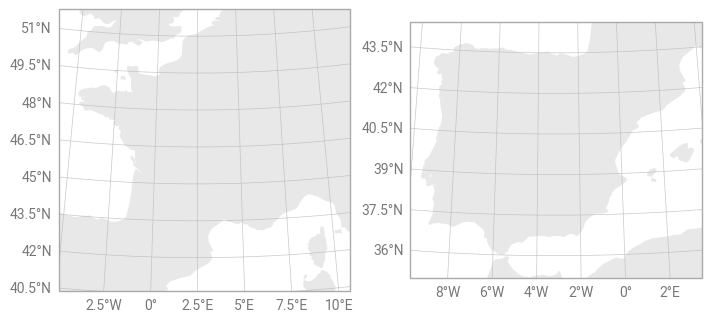
A Figure also provides a convenient way of applying the same method to all subplots that it contains, without the need to loop over them. For example, we can produce multiple maps and add coastlines to all of them at once by calling figure.coastlines().
[4]:
figure = earthkit.plots.Figure(rows=1, columns=2)

figure.add_map(domain="France")
figure.add_map(domain="Spain")

figure.land()
figure.gridlines()

figure.show()